Why design a Herringbone Parquet pattern?
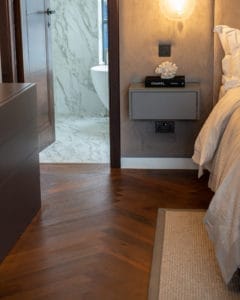
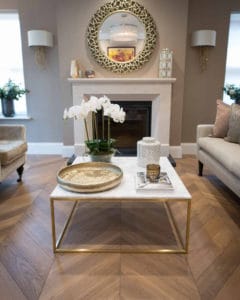
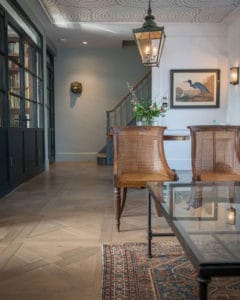
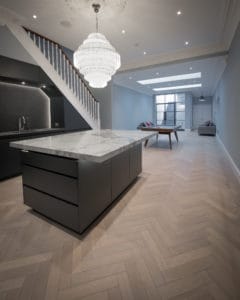
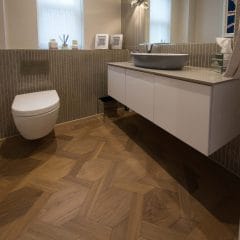
The term Herringbone refers to the pattern’s resemblance to the bones of herring fish. In Italy it is referred to as ‘Spina Pesci’, the Spine of Fish.
Herringbone design uses rectangular pieces of wood of equal size installed 90° to each other to create 2 lines. The pieces are referred to as battens (when used as solid wood 10mm overlay) or blocks (when used as 20mm solid wood).
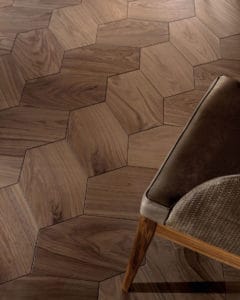
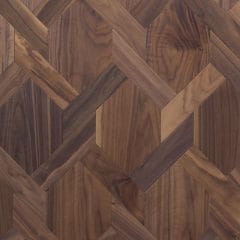
This simple pattern has a multitude of options, each providing a unique look. Other shapes can be used such as parallelograms (Chevron Parquet) and hexagons but since there are so many options with rectangles this design guide will focus on rectangle shapes.
Traditionally with this flooring, the length is 5 times the size of the width 5:1. This will allow variations of the pattern so that 5 pieces will always add up to a single length. However, if laying in a standard herringbone pattern the length can be any size.

What size herringbone is best?
This is the first dilemma to consider that will affect the look when planning a herringbone design.
- Extra narrow – A unique look is to have fairly narrow widths at 45 – 65mm widths and longer lengths of 400 – 900mm
- 70 x 350mm – On the smaller side 350 x 70mm is a popular choice and works well in smaller and medium sized rooms. Often used in school halls and other commercial settings. as it is more cost effective
- 90 x 450mm – This is a classic size and gives a more premium look. Works well in all small and large spaces.
- 90 x 700mm – Slightly longer, more premium look and works well in all sized rooms. A preferred size in engineered format as it is more economical in manufacturing.
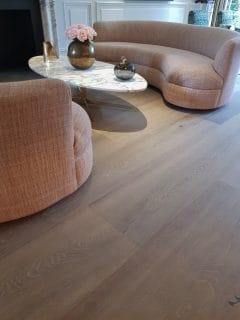
- Oversized herringbone – 120 x 600 or 135 x 700mm or 150 x 700mm – These sizes are considered as oversized for herringbone and will give a slightly more contemporary look. Ideal for medium and large spaces.
- Extra large sized herringbone – 180 x 900 or 240 x 720mm. This extra large size gives a modern look and works well in large spaces such as an open plan living and kitchen room.
What herringbone designs can you make with parquet battens?
- Single herringbone – the standard design is to alternate the battens to 1 left and 1 right.
- Diagonal herringbone – laying the first row parallel to a wall. This is a unique and attractive look and can work well in small and large spaces.
- 2 colour herringbone – using 2 colours can have a striking design.
- Double herringbone – this design requires 2 battens to alternate at a time.
- Ladder pattern – laying the battens horizontally in a line with a single line of battens between each row.
- Brick pattern – staggering the battens in a single row.
- Basket pattern – this requires the battens to have the lengths to be multiples of the width such as 3:1, 4:1 or 5:1. Basket pattern can be installed square to the room or diagonal to the room.
Engineered wood herringbone or solid wood herringbone?
Parquet flooring can be manufactured in 3 formats:
- Solid wood overlay parquet – overlay parquet is the oldest format and the most traditional method to installing parquet. Made from solid wood in approx 9-10mm battens. The installation method is regarded as the purest form to installing wood floors and has been used for centuries. It also requires the most expertise and patience from the client. This is not a project that can be rushed, the timber must be installed only once the site conditions are suitable, the timber is acclimatised, design and layout considered. Once installed the timber needs to settle before any filling can be done and final sanding, priming and finishing. Choose this option if you don’t have underfloor heating and would like a simple colour or clear finish as it is not possible to achieve complex colours when applying on site.
- Engineered wood herringbone – the demand for underfloor heating, complex factory finished colours and the need to get projects completed quickly mean that this format is now the most popular type of parquet.
- Solid wood block parquet – typically 18 – 20mm thick and often with a tongue and groove profile. Our view is that this type of herringbone is superfluous. The thickness of the blocks will cause them to be more prone to expansion and contraction, resulting in gaps between the blocks. Just because the blocks are thicker does not mean they will last longer as your wear layer on a tongue and groove block is only up to the tongue giving maximum 8-10mm which is no more than a 10mm overlay floor which is more stable.
Direction to lay for good herringbone design
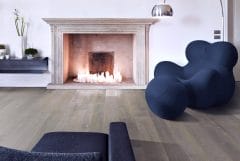
The direction of the pattern is important. Look for a focal point to help you decide, such as a fireplace, double doors, bay window and the shape of the room. Generally herringbone looks good down the length of the room. However if you have large patio doors looking out to a garden then it may work to point towards the garden.
Where to start laying parquet floors
You will have to decide where to start your design. Your first row should be centred to a focal point such as the middle of a bay window or fireplace. Consider the impact the starting point will have on other areas of the room as it may work better to centre to the middle of a room to avoid having small pieces left on the side of the room. If you are installing in multiple rooms without borders or thresholds then you will need to decide the impact it will have on those rooms too. Remember houses rarely have straight walls or rooms that are exactly parallel to each other.
Do you need to have a border with parquet floors?
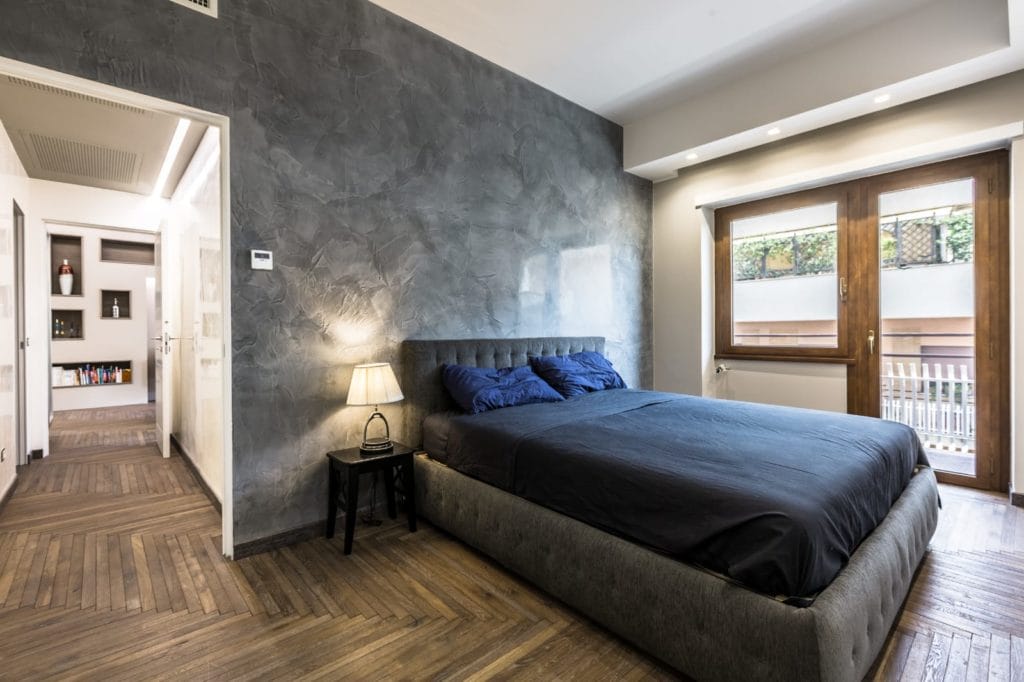
Parquet borders provide function other than just being a decorative design. If you are installing in multiple rooms without borders or thresholds then you will need to decide the impact it will have on those rooms too. Remember houses rarely have straight walls or rooms that are exactly parallel to each other. Without a border the direction will follow through into the next room and may not line up to a focal point in that room or worse be out of alignment with a wall. A parquet border will allow you to choose a direction and starting point for each room giving total control over the design.
Design options for parquet borders include:
- Single line border – using a single line border with battens parallel to walls
- 2 line border – using 2 rows of battens parallel to the walls. The benefit of using a 2 line border as it can hide uneven walls better as the first row to the wall will take out some of the variation whilst leaving the inner row as a complete batten.
- Plank border – using a long wood plank to create the border
- Ladder or bookend – turning the battens inwards to make a large border works well on larger rooms
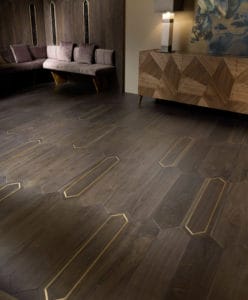
- Inset strips – inset strips such as brass or using lighter/darker strips of timber will provide an attractive effect.
- Decorative parquet borders – the design options in decorative borders are immense and varied. Options include Greek key border, lattice and intricate marquetry designs.

