Your cart is empty
Looks like you haven't made your choice yet

Premier Woods
Select Woods
Core Woods
Contemporary

Luxury Wood Floors
Reclaimed Wood Flooring
Aged and distressed Floors

Retail & Hospitality
Planks
Wide Plank
Herringbone

Chevron

Panels
Inlaid Parquet
Modular Parquet
Custom Made

Light Tones
Mid Tone
Dark Wood
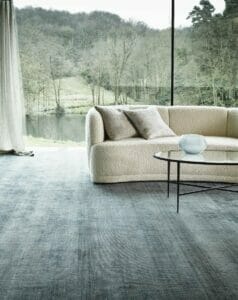
Grey Wood Floors
White
Black
Light Grey
Dark Grey
Dark Smoked Oak Cadogan
Modular II
Midland Oak
Brasilia Oak
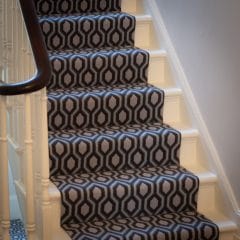
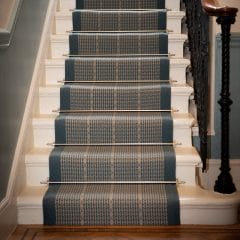
Geometric Runners
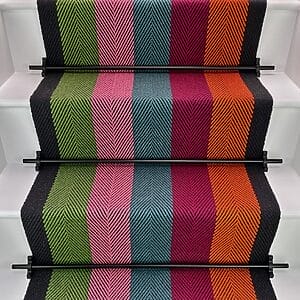
Herringbone
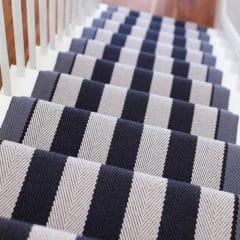
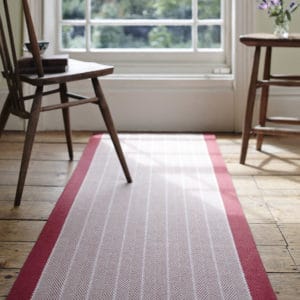
Stripes
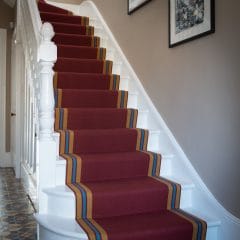
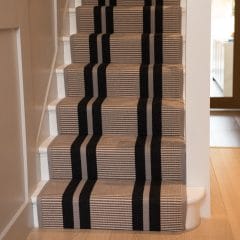
With Border
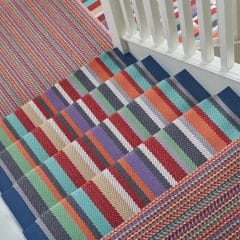
Colourful

Grey & Black
Blue
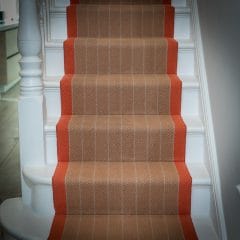
Red
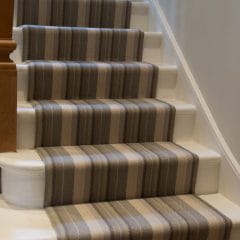
Neutral
Green
Pink

Customisable
Hartley & Tissier
Fleetwood Fox
Roger Oates
Off The Loom


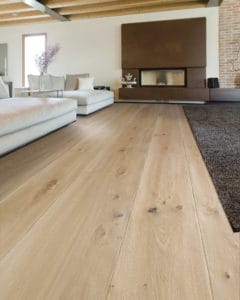
Light Tone Wood Floors
Mid Tone
Dark Wood Floors
Parquet Flooring
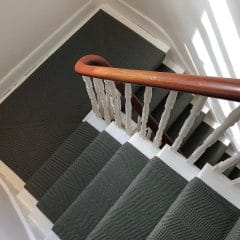
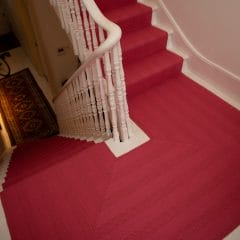
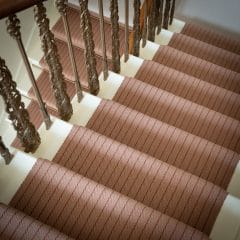
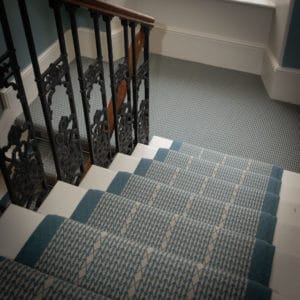
Stair Carpet Runners
Finishing Touches
Modular Parquet
Having the best sub-floor will enhance and achieve the finest results when creating a timber floor.
The screed, or often referred to as the load-bearing layer, constitutes the support which must provide give resistance. The resistance is provided against various mechanical stresses imparted by the floor itself. The screed also provides resistance against flooring in use, such as static and dynamic loads. The screed is always laid on a vapour membrane (on upper levels) or on a vapour barrier (on ground floors or above basements). This is specifically done to provide insulation. The screed needs to be gapped and separated from the walls (perimeter joints) by suitable strips of compressible
material.
• compactness in its full thickness
• sufficient and constant thickness (5-7 mm cement screed; 3-5 mm anhydrite screed).
• inflexibility, especially in areas where pipes pass below
• protection against water seepage and formation of condensation
• hard surface
• absence of live cracks and fissures
• dimensions, planarity and horizontal position
• level of surface texture
• cleanness
• moisture content of laying level and walls (1.7% by weight for the cement creed; 0.3% by weight for the anhydrite screed).
| SCREED TYPE |
SCREED THICKNESS |
HARDENING TIME (days) | MINIMUM DRYING TIME IN IDEAL CONDITIONS (days approx.) |
RESIDUAL MOISURE CONTENT OF BALANCE (%) |
| cement | 5 cm | 28 | approx. 60 | 1,7 |
| cement | 8 cm | 28 | approx. 140 | 1,7 |
| cement | 10 cm | 28 | approx. 200 | 1,7 |
| anhydrite | 3 cm | 15 | approx. 28 | 0,2 |
| anhydrite | 5 cm | 15 | approx. 40 | 0,2 |
| fast-drying hydraulic binder (300 kgs/m3) |
5 cm | 3 hours | approx. 1 | 1,5 |
The pre-finished parquet can be laid on old rigid floors, like tiles, ceramic, marble and derivatives, stones, etc. old floors in timber boards or panels.
The heated screed is a cement base of hydraulic binders or anhydrite. This is fundamentally done with water pipes running through its thickness to heat the spaces. The heated screed is an ideal choice in place of means such as radiators or other external systems.
Having verified all the requirements necessary for installing the wood floor, the moisture content allowed, determined by carbide hygrometer, cannot be greater than the values of:
The gradual warming up of the heating system has the function of stabilising the base. This subsequently slowly reduces any tension and brings it to a drying level. Corresponding to that of balance with the ambient conditions, in which it will find itself once in service. This is specifically so that the heating system cannot transfer moisture to the parquet.
The minimum thickness of the screed must be of 6cm of which 3 above the pipes. Before putting the heating system into action the screed must have a minimum curing time of at least:
The heating effect is obtained by gradually increasing the fluid temperature by about 10°C per day until a temperature 10°- 20°C above the operating temperature is reached. This temperature is then maintained for a further 10 consecutive days, with the premises suitably ventilated.The temperature of the creed’s heating is then followed by the cooling process. This stage primarily involves gradual reduction of the fluid temperature by 10°C per day down to the system’s minimum rated temperature.
Immediately after this, the temperature is gradually returned to normal operating conditions. The screed is capable of guaranteeing the specified ambient temperature of 20°C, with ambient relative humidity between 45% and 60%.
In order to maintain the dimensional stability of a wooden floor installed on a heated and/or cooled concrete substrate, the local microclimate must first be checked. The conditions of the screed’s heating must be carefully calculated to ensure that two parameters are strictly complied with. Both of which, with constant conditions and during transition phases:
Failure to comply with this range will inevitably cause problems. This includes issues such as the shrinkage of the wood which occurs due to the heating system operated during the winter. The creation of cracks also occurs due to this, which are larger in flooring consisting of wide planks. Flooring made from types of wood with lower dimensional stability also have this occur. Whilst during the Summer period, there is an apparent problem of swelling, with formation of undulations in the surface, or even raised, detached sections.
Since the temperature and humidity at which wood is stable is also the optimal conditions for human comfort, there is no better remedy than to take care to humidify rooms. What will be crucial is to specifically differentiate the humidity in rooms during the summer and winter period. During the winter period, it is recommended to humidify rooms, whilst removing humidity in the summer-time.
To limit the formation of fissures of the parquet it is advisable to avoid covering the floors with carpets or other finishing materials. The timber floor can be laid on the heated screed using the glued or floating method.
floors can be laid using the glued or floating method.
In addition to parameters specific for the type of laying technique and to parameters relevant to the surface condition, there are others which should not be underestimated so as not to compromise the final condition of the parquet when installing wood flooring.
They are:
Grinding, generalized consolidation and surface proofing are not usually allowed in heated screeds. It is always advisable to apply a suitable primer to improve bonding of adhesives used.
The surface temperature of the screed from the moment of laying the screed must be approximately 15-20°C with a relative air moisture content lower than 60%.
After the process of laying the floor the temperature must be approximately 15-20°C with a relative air moisture content lower than 60%.
To lay with glue, the sub-floor must have the requirements as specified in the chapter regarding sub-floors. Once checked that all parameters have been met, proceed as follows:
The floating method is carried out like on a non-heated screed. The thermal resistance held by the layer of acoustic insulation (approx. 2.5mm) of compressible material which should be laid under the floor finish should be considered when assessing the overall thermal resistance.
Any screed able to resist the static and dynamic loads required for the floor, is suitable for laying the floating parquet. The floating parquet is always laid on a vapor membrane (or barrier if necessary). It can also be laid on a layer of acoustic insulation which is often composed of an underlay which is often composed of an underlay made from compressible material. Another alternative to flooring parquet is felt, which best works with a thickness of approximately 2.5mm thick.
During laying the membrane or vapour barrier, the parquet flooring should be turned up on the walls behind the skirting board. When doing so, it is important to leave a distance from the walls proportional to the dimension of the floor.
Generally, a perimeter gap of approx. 1 mm is recommended for a pavement of 4×4 m approx. For larger sizes however, the perimeter gap must be proportionate. In any case, for gaps greater than 1 cm transversely with respect to the wooden element, an expansion joint is necessary. Around the columns or other element projecting from the screed, a gap of approx. 1 cm is recommended. In respect of ramps and joints with other floors suitable expansion joints with joint cover profiles should be used.
Once the wood flooring is installed you may wish to protect your floor while other works are continuing. It is important to allow the wood floor to breath. Thus protect with building paper and then with hardboard using gaffer tape to join the hardboard. We do not recommend Corex. Do not turn on the underfloor heating during this time to avoid moisture becoming trapped between the wood floor and floor protection.
|
Wood Flooring Installation and site conditions Instructions (PDF) View our wood flooring products for details on product specifications. |
installing the wood flooring