Your cart is empty
Looks like you haven't made your choice yet

Premier Woods
Select Woods
Core Woods
Contemporary

Luxury Wood Floors

Reclaimed Wood Flooring
Aged and distressed Floors

Retail & Hospitality

Planks
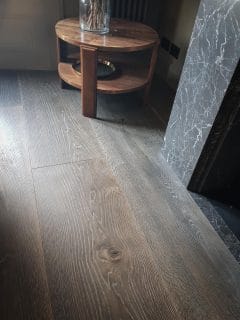
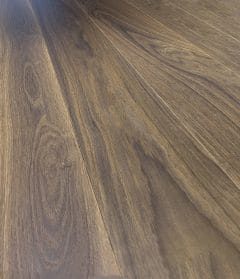
Wide Plank
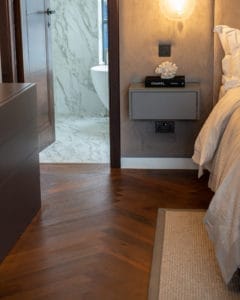
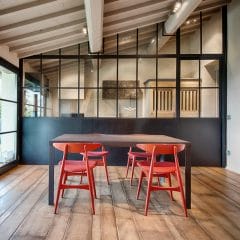
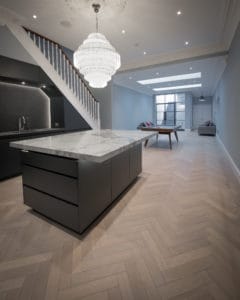
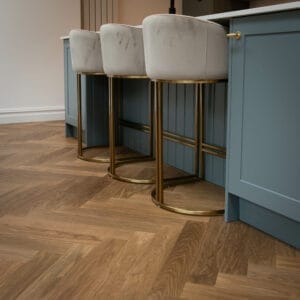
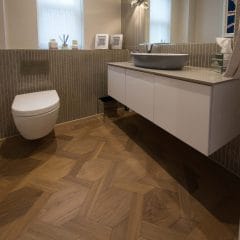
Herringbone

Chevron
Panels
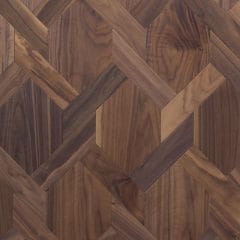
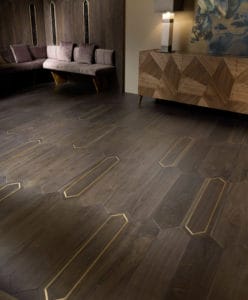
Inlaid Parquet
Modular Parquet
Custom Made

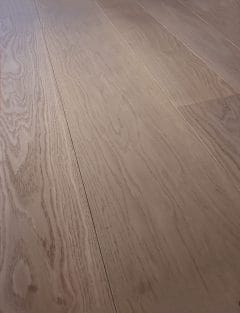
Light Tones

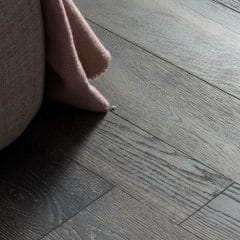
Mid Tone
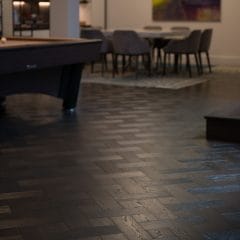
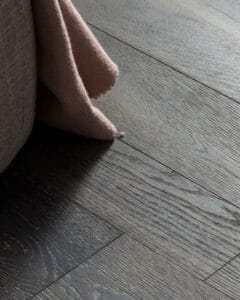
Dark Wood
Grey Wood Floors
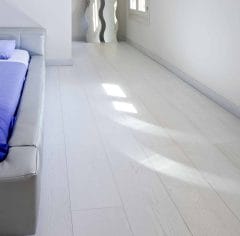
White
Black

Light Grey
Dark Grey
Dark Smoked Oak Cadogan
Modular II
Midland Oak
Brasilia Oak
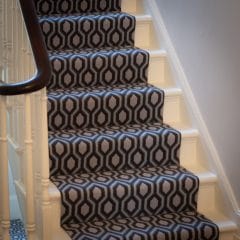
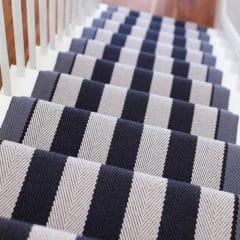
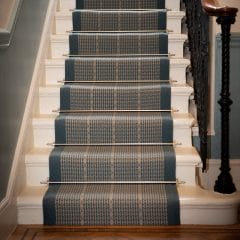
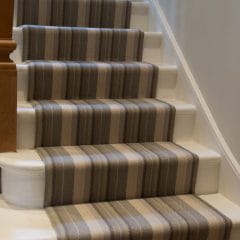
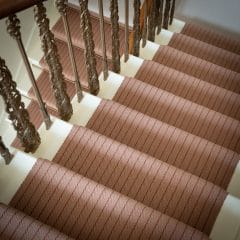
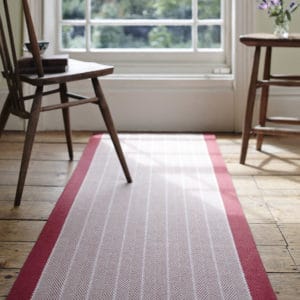
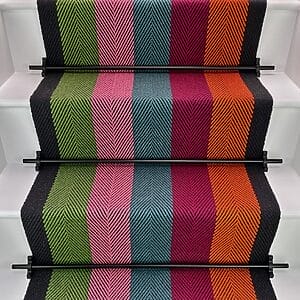
Geometric Runners
Herringbone
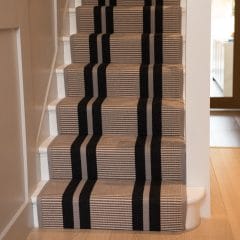
Stripes
With Border
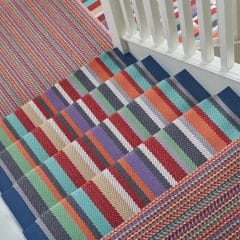
Colourful

Grey & Black
Blue
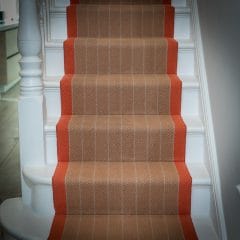
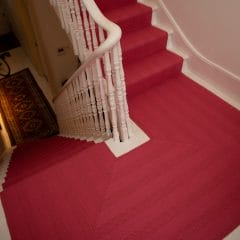
Red
Neutral
Green
Pink

Customisable
Hartley & Tissier
Fleetwood Fox
Roger Oates
Off The Loom


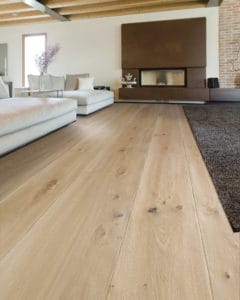
Light Tone Wood Floors
Mid Tone
Dark Wood Floors
Parquet Flooring
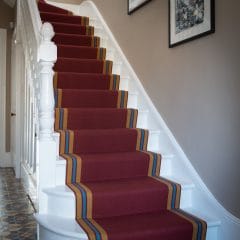
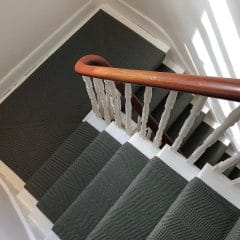
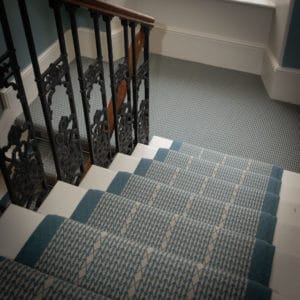
Stair Carpet Runners
Finishing Touches
Modular Parquet
Installation guidelines for textile wallcoverings such as Silk Wallpaper and Linen Wallpaper.
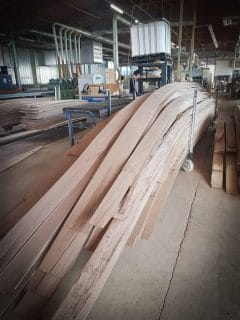
Receipt of the material
Installation guidelines are included with every delivery and in every box. Please read them carefully and check for specific instructions.
Be sure all material has the same run lot number before installation. Final inspection should be made as to correct pattern, colour and any defects in craftsmanship.
No claims will be accepted beyond the installation of 3 strips. Absolutely no labour claims will be considered. Application of material is interpreted as acceptance of material and conditions of installation.
Small differences in shading between different run lots or between sample and actually delivered material cannot be avoided.
The picking label that you find on each roll contains following information:
• Ord: Omexco order confirmation number
• Cus: Customer name
• Ref: Reference number of the wallcovering ordered
• Bat: Batch number
• Qty: Quantity on this roll
• Ext: Extra meters given (if applicable)
• SeqNr: Number of the roll
If your order contains several numbered rolls of one single item/ reference, please first install the roll with the highest number, and then continue to install the order rolls in sequence, in descending order.
Ensure surfaces are clean, smooth, dry, firm and uniformly colored. Do not hang over glossy or nonporous places, stains.
Painted walls should be washed down with Tri Sodium Phosphate to remove grease or soil. Glossy paint should be dulled with sandpaper. Never hang over new plaster or unprimed wall areas.
For wallboard, ply or drywall, fill all cracks and prepare the surface with an acrylic base coat.
• If your order contains several numbered rolls of one single item/reference, please first install the roll with the highest number, and then continue to install the other rolls in sequence, in descending order.
• Measure and cut 3 strip lengths. Add 5cm to 10cm (2” to 4” inches) to top and bottom of each strip.
• For printed patterns, plan your match from the roll before cutting.
• Mark each strip coming from the roll on the back and hang in the same sequence. Mark the strips if reverse hanging is necessary (see label on the roll). More info on reverse hanging you find further below.
Starting from the corner, measure a distance which is 5 cm (2 inches) shorter than the width of the wallcovering and mark that place. Use a laser level to indicate a vertical line on that spot, from floor to ceiling. This line will serve as a guideline during the installation of the first strip.
Apply a ready mixed PVA or EVA clear adhesive to the wall. Follow the instructions of the adhesive manufacturer. Do not use too much adhesive (about 7 ozs/sqyd – 200 gr/m²). Respect the open time recommended by the adhesive
manufacturer to penetrate into the wall or to evaporate.
Make sure the adhesive is spread out evenly over the whole surface to ensure good adhesion to the wall. This will avoid open seams.
These are delicate wallcoverings. Never allow glue nor water to get on the front of the material as this will leave permanent marks.
Trimming of the wallcovering at the ceiling.
You get the best results closing the seams when using a special joint roller, except if indicated otherwise. In that case you find following symbols on the hanging instructions that are included in your shipment:
Do not use a palette on textile wallcoverings to close the seams as this may leave scratch marks.
Before installing the second strip, check if the wallcovering needs reverse hanging. This is indicated on the roll by a flashy sticker. Thanks to reverse hanging, shading between different strips of wallcovering is avoided.
Reverse hanging means that when cutting the different strips, the first strip is hung straight. The second strip is hung in the opposite (reverse) direction. The third strip is hung straight again, and so on.
Never fold wallcovering in an inner corner but trim both edges inside the corner
Fold the wallcovering around the corner, if the material is flexible enough. Then remove the wallcovering slightly from the wall and firmly press the fold between two fingers. Fold again around the corner and press the wallcovering on the wall
with a palette or rubber roller. Trim the edge to the wall.